How Improve the Tone and Feel of Your Guitar?

20140116182109IMG_5338Looking into changing the feel and sound of your guitar can be a lot of fun: It can be unpredicatable and exhiting process all at the same time.
You may wonder why make any changes to an exhisting guitar? Is it not better to buy a  guitar of which you like the sound and feel? Yes and no: Making changes to any of your guitars will give you more experience as in what is crucial for its tone and feel.
For this article I will go into a handful of simple things you can look into to change the feel and tone of your guitar.

Tone:
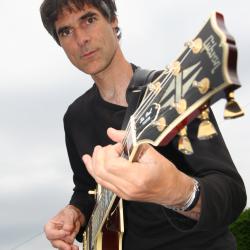
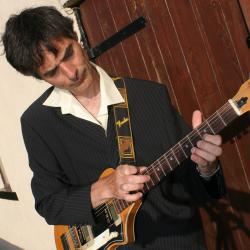
The main parts which create the tone on an electric guitar are the pick ups and the type of woods for the body and neck.
Lighter bodies may lack any depth to your tone. This could be compensated by getting hotter output pick-ups, but it may be better to get a body which creates  more resonance.
The bridge plays a vital part in the tone as well: Better quality bridges may give you more sustain and depth. Similar thing for the nut. Most of these parts are easy to change. Changing a body may be more radical as you may feel you will change your guitar completely.

Feel:
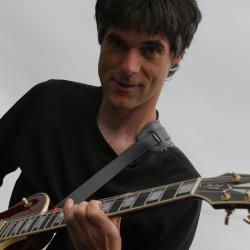
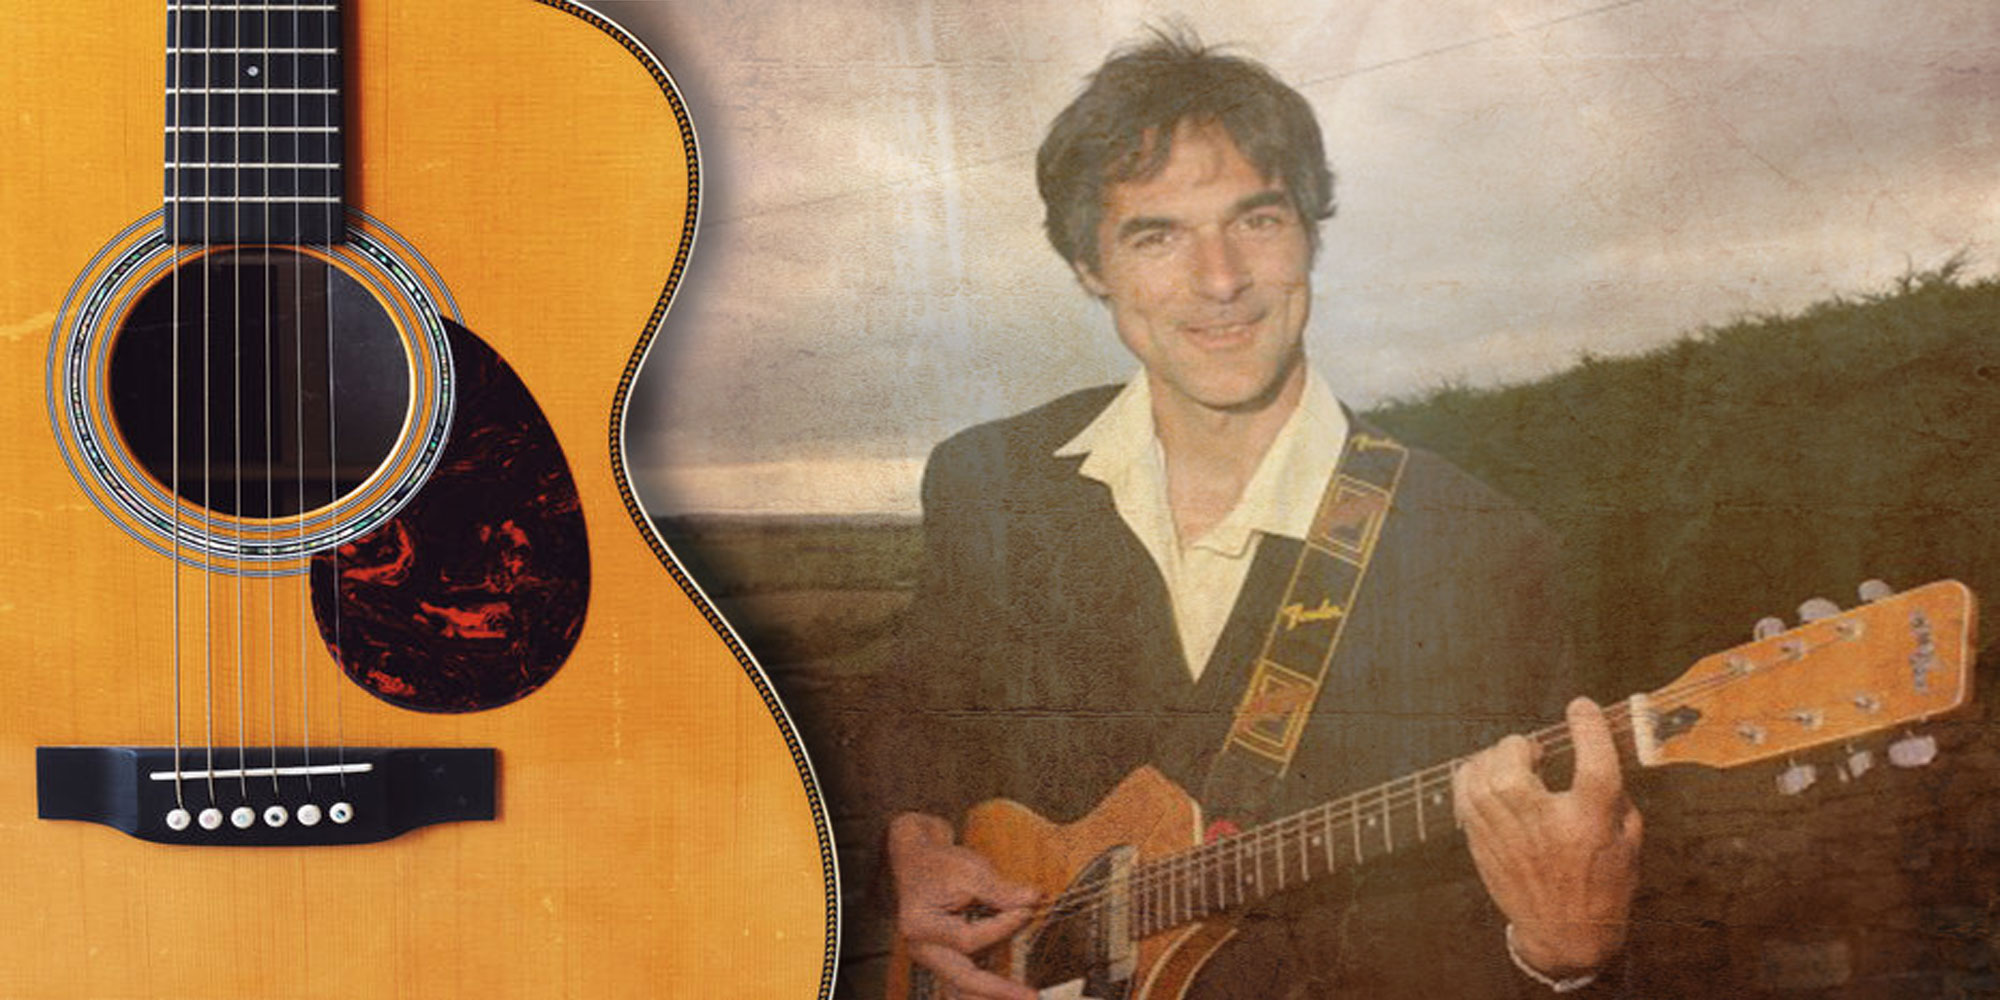
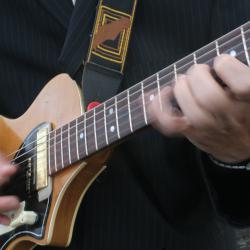
Most of the feel of a guitar comes from the neck: Is it a thick or thin one? Is it heavily finished or only lightly? The fretsize plays a part too: Thinner frets will give a different feel for your finger tips compared to thicker frets.
The kind of wood used for the fretboard: Maple fretboards feel harder, they also will sound brighter compared to Rosewood fretboards.

Getting a budget guitar may be a good starting point: You could change any part on this guitar without having the feeling that you are destroying its soul. The first thing you could do is change one pick-up. See what this has done to its tone, then carry on from there: Change more pick-ups or maybe change the bridge or……….whatever part you like?

Once you have finished the whole process you may end up with a guitar you really like, but it may also no longer be a budget guitar.
Have fun and hope to see you soon again,

Eddie

Starting Out with Guitar Playing: What Should Your First Guitar and Amplifier Be Like?

20140408092012IMG_3943It is very tempting to buy all the gear you need, when you are starting out. Get it all  in one packet and job done. Often these deals will include leads, picks, strings, guitar and amp. All you need really, isn’t it great? Yes but most likely, the gear you will get is of budget quality and may not be that inspiring to play after your first year of making music.

Another approach is to look at your budget and to get a separate guitar and amp. Before you buy look into what kind of gear you could get for the budget you have in mind. Instead of buying new, look into buying second hand. Often you can get better deals in this way.

Once you have made up your mind about what kind of amp and guitar to get ask some friends with playing experience what they think. Ask  them about their opinion and views. It may be possible to show them the gear and let them play it for a while to see what they think.

Making music and playing guitar is about growth. You want a guitar and amp which can keep up with your develpment. The gear needs to give you  joy and you need to be able to be proud of it. Over the years it is likely that you want to try something else: A other type of guitar or amplifier, but it should not be that the ones you have bought rigth at the start are no longer any good.

Over the years it may also be possible to upgrade your gear by making improvements to your guitar like installing different pick-ups or changing the speaker of your amp. There will also be room for improvement as it is part of the growing experience of making music and playing guitar.
Have Fun and hope to catch you soon again for more,
Eddie

Check List for Buying New Ukulele

20111117111343eddieBuying a new Ukulele is  relatively simple these days: Most Ukuleles you will find are of good quality, there are just a few things to watch out for: Ukuleles come in four sizes: The Soprano, The Concert, The Tenor and the Baritone. The Soprano is the one which is the cheapest and therefore the most popular one among starters.
Whey you shop for a Soprano, try not the get the cheapest one as most of these may not sound that pleasing. You only have to pay a little more to find yourself with a better instrument.
The one thing to watch out for is the tuners: Try to find a Ukulele which does have modern type tuners. Modern type tuners look the same as the type of tuners which are found on a Classical guitar. These type of tuners make sure you can actually tune your Ukulele. The traditional type of tuners for the Ukulele tend to slip and will make it hard to tune up correctly. A Ukulele which is not tuned correctly will be not much fun to play and will also make the learning of the instrument a less pleasant experience.

Happy shopping,
Eddie

Guitar Lessons in Group Format

20140222153811IMG_5187Taking up guitar lessons will mean for most people getting schooled in all kind of ideas relating to the guitar: How to hold a guitar, how music works and learning to play some simple ideas to get you started. Some people will go the way to take up individual guitar lessons, feeling they will receive more attention and learn more. Others may like the idea of having lessons in a group format. Group lessons do have the advantage that it is possible to play music in ensemble context. Within each group there are usually different levels, some students may be fluent with chords but not so experienced with single note playing. Any material which is taught in group format does have the potential to be played in ensemble context where each student will play various parts. Playing guitar in  a group setting is a enjoyable form of playing: Most students enjoy this kind of playing as each member can fit in easily according to their skills. Individual guitar lessons can also be tailored to ensemble playing: The ensemble is a little smaller since it only consists of two people, but those two people could still end up playing various guitar parts which make up a song. Playing guitar in ensemble context is not just enjoyable, there are huge benefits from a learning point: learning to play to keep in time with other guitar players, listen to the parts of other guitar players while you play your own part, learn to interact with other guitar players by playing simple solos and learn to enhance simple structures which work when you are playing with other musicians. Most guitar teachers, or music teachers, will let there students play in a group setting, if this is not the case maybe you should ask your teacher to let you play in a small group to experience what it is like to have your guitar lessons in a group format. Hope to see you soon again, Eddie

Get 1950s/1960s Sounds from Your Bass By Using a Mute

20110504122530eddieFor this article an insight in how to get that Acoustic bass sound from a modern Electric Bass. A lot of listening will help you to familiarise yourself with that sound. Also, try to think what the early Fender Basses had which the newer, modern versions lack: A Mute—the metal plate you will find at the back of the bridge. This Mute is  partly responsible for some of those sounds on the early Motown Hit Records.

Most of the early Electric Bass players had been Upright bass players in the beginning of their career. The sounds most of those players made reminds you about the acoustic bass. Some of the techniques some of those early Electric Bass Players used was adapted straight from playing Upright Acoustic Bass: Striking the string with one finger instead of using two alternating fingers, playing the strings by using only thumb instead of any finger—-think about the Finger Rest on early Fender Basses underneath the strings instead of above the strings. At some point the Finger Rest became a Thumb Rest.  This change must have been around the time more Bass Players started using their fingers instead of only playing with one finger or just the thumb.
Of course, any experienced Bass Player knows you do not need a thumb rest: You can rest your thumb as easily on the neck, the low E string or on the pick-up (depending on the lay-out of your Bass). You can also rest your thumb somewhere on the pick guard.

Thinking about that darker sound we hear on so many early Motown Hits you have to remember how most of those Bass Players played and what kind of equipment they used. Today we have a lot more options available but sound wise that early Electric Bass Sound some of the pioneers of Electric Bass did get cannot be beaten.

Once you have looked into how it feels to play whole songs with only using your First finger of your picking hand, or just your Thumb you may still feel there is something lacking: The Mute. The Mute was basically a metal plate with a bit of foam to mute all your strings lightly.
Have a look at your Bass, no Mute eh? Should you order one? Well you can but what about making one yourself? A very simple way to create a Mute is to take a piece of sponge, and cut it to desirable seize and stick it underneath your strings in the Bridge area. You will be pleasantly surprised as in how close this idea brings you to that authentic, early Motown Sound.

Experiment with different seizes to see what works best.

When it comes to strings,  most of the early Electric Bass Players used Flat Wound strings, Round Wound Strings were not yet invented! You may want to get a set of Flat Wound Strings as they will give you less ring. I will leave this choice to your own taste.

Enjoy and have fun and hope to catch you soon again.

Beginners Guide How to Hold the Ukulele

20111117111343eddieThe Ukulele is  a compact and small and relatively light instrument. You can play the Ukulele whilst sitting down or standing upright.  The main thing to look out for is to keep the Ukulele balanced and that you keep your hands free! Your Left hand is used for fingering the chords, not for holding or supporting the Ukulele. The Ukulele is supported by being tucked underneath your Right arm. Do not hold the Ukulele with your Right arm as it will prevent you from strumming effectively. Tuck the Ukulele underneath your arm, just let it rest there.
For strumming using your thumb (or first finger, or a Plectrum) of your Right hand. Strum the strings just above the fretboard not above the whole, (as what you would do while playing a guitar) playing in this manner will give you a stronger sound. Strum with a loose wrist, you can rotate your wrist slightly as you strum. All of this will become easier with time, avoid playing with a stiff wrist ( a common problem for beginners!) as it will  make your playing sound stiff as well!
Chords and single notes are being played with the tip of your Left hand fingers. All Four fingers are being used to finger chords, even your Pink. Try to stick to the “correct” posture and fingering right from the moment when you start as it will make playing easier in the future.

Have fun and hope to see you soon again,
Eddie

Easy Chord Sequences for Beginners Ukukele

20111117111343eddieThe Ukulele is a great, chirpy little instrument. It is a great idea for young children to start on a Ukulele and progress to guitar once they get a little older (from about 9 years or so).
The Ukulele in itself is an independent musical instrument. There are four different types of Ukuleles (Soprano, Tenor, Concert and Baritone) Each of them goes up in size, the Baritone is tuned similar as the guitar while the other three have a slightly different tuning compared to the guitar.
There are some great resources around for you to learn how to play the Ukulele, for this article I want to provide you with some simple chord sequences made up from basic chords. It is fine to look for individual chords but you need to put those chords into context for them to make sense musically. I have created four different sequences, and each of them can be played on their own to sound right.
I have put the chords into tap form, the fingerings are exactly the same fingering as any of the chord shapes you will find for these chords.

The chords are C, F, G and C at the end

A —-3—–0—-2—-3–

E —–0—–1—-3—-0—-

C —–0—–0—2—-0—–

G —–0—-2—-0—-0—–

Play all chords using four strums per chord. All chords are played for one bar, there is a C at the end of the sequence, then play C again for the start of next bar as the sequence starts again from  the beginning.

Next sequence is again four chords, and again, all four chords are played for one bar. You can play them using four strums per bar or just one strum per bar. If you choose to play one strum let the chord ring for the rest of the bar.
The chords are C, C7, F and G7

A —-3—-1—-0—-2—

E —-0—-0—1—–1—

C —-0—-0—0—–2—

G —-0—-0—2—–0—

The next sequence uses minor chords which have a darker sound compared to the chords used in the above sequences. The bars contain this time two Chords per bar, which means you strum each chord twice before you move on to the next chord.

The chords are Em, Dm, C and G

A —2—-0—–3—-2—

E  —3—-1——0—-3–

C  —4—2——-0—-2–

G —0—2——-0—-0-

The next sequence is again 2 chords per bar, play two strums per chord before you move on to the next chord.

The chords are C, C7, C6 and G

A —3—1—0—2—

E —0—0—0—3—

C —0—0—0—2—

G ———————

All chord sequences can be played over and over again, to give the sequence a “finished” feel you can play a C at the very end once you want to finish the sequence. The C will give the sequences a finished feel because all sequences are in the key of C. The Ukulele sounds great in the key of C: All strings played open will give you a C6 chord.

For next article a few tips on how to hold a Ukulele.
Keep on playing and hope to see you soon again.
Eddie

Creating Guitar Parts for a Guitar Ensemble

20131129174824eddie 3Playing guitar in a guitar ensemble can be a lot of fun, all the guitars together form part of the bigger ensemble. You may only play a handful of notes at a time but the overall ensemble creates a big sound.
For this article a few ideas you may be able to use for your own guitar ensemble arrangements.

The ideal situation for your arrangements is to get sheet music for whatever song you want to play and from this you may be able to create other parts for any of the other guitar players. Some songs come completely arranged for guitar including several parts which makes it ideal to preform in an ensemble set-up.

Dividing up Various Parts:

Let us look at songs where you have no sheet music and you just need to work with the original, recorded material. Your goal is the turn a song, originally written for vocals, into an instrumental version for guitar. All the various guitar parts will make up the sound of the overall song. Depending on how many guitars there are in your ensemble, you can divide the various guitars up into preforming different roles: Some guitars will mainly play vocal melody lines. Some other guitars may only be dealing with low notes as they will preform the bass parts of the song.  The main chords of the song can be divided up among various guitars. Avoid playing chords of more than four or five strings as this will make the sound too dense and cluttered. Be careful with where to play the chords, divide the chords up in several places among the fretboard to create an even and balanced sound.

Once you have all your parts in place you may still feel unhappy with the overall sound once you have played it a few times, this is normal as you may still want to adapt some of the parts to make them fit better into the overall sound.

Enjoy and hope to catch you soon again.
Eddie

Survival Guide For Gigging Guitar Players

20131215184822eddie 2For this article a few tips about what you can do to get you through gigs played under less favourable conditions. The typical scenario I have in mind here is gigs played with bands which are under rehearsed, songs you need to play you do not really know, gigs you need to play where you can hardly hear yourself or any of the other band members.
The ideas I give you here are applicable to any musician such as keyboard players and bass players.

Okay let us start with asking why you would find yourself in any of the above situation mentioned above? You may play with a covers band which does gig often but does not rehearse often. You may know the original songs but the not the band’s version. The fact you cannot hear yourself or anyone else in the band may be due to the overall volume of the band being to loud. All of this leads to playing gigs under less favourable circumstances. Here are a few simple things you can do to make life a little easier:

Make Sure You Know The Songs:

Simple suggestion really, but it does help. Once you know a song inside out you will find you will be able to play it blind folded and with your  ears plugged. Whatever happens during the gig, once you know the songs it will help and you will be able to get through them.

Playing Solos:

Let us say you cannot really hear yourself or any of the other band members but you do know the song. Once it comes to solos try to follow the vocal melody line as much as you can, play around with that, it will help you and the audience since you are referring back to the original vocal melody.
Avoid playing solos or fills throughout the song, it makes for a sloppy sound. Playing single note style solos is an easier approach to playing once you do not know a song, but avoid playing throughout the whole song since the effect of the solo is lost in this manner.

  Watching the Fingers of Other Guitar-and Bass Players:

This approach will work if you are an experienced player, it is not much fun, but we are talking about survival so much of the fun element is lost anyway and the main aim is to get through the gig. With this approach you  may be slightly out with your timing since you play of the fingerings of other players. If you are not sure about the chord shapes being used by the other players, just stick to a handful of notes just to get a sound. Again, not ideal but it will work.
It may be possible for someone to call out chords while you watch their mouth as they call out the chords. Again, not ideal but it will work to get your through the song.

  Stops and Accents:

Watch the drummer, ideally someone will guide you with any stops in the song. Just be on your tows to watch anything which is going on to make sure you will be there in time.

Volume and Volume:

In case the overall volume level is high do not put up your own volume even higher as it will make matters even worse. Turn yourself down and concentrate on the sound and what you are hearing. You may get a change to talk about the overall volume with the hope that all the other band members will turn their volume down as well. Volume is often an issue: What one band member thinks is too loud another member will not see as a problem. Ideally all members are of the same ilk when it comes to matters like this, but often this is not the case and one has to see what is possible.

Good luck and hope to catch you soon again.
Eddie

Three Simple Things You Can Do To Improve Your Guitar Tone Quickly

20140104162927IMG_4362For this article a handful of simple hints to improve your guitar tone.

Tone is in your fingers, you all may have heard this comment before but it is so true: how you use your fingers translates directly to the sound you make with your guitar. The gear you use will only enhance the initial trigger of your fingers. In other words, if your technique is poor you will never achieve the results you could get.

Your tone will improve over time as when your guitar technique will improve. There are three simple things you can do to speed up the process:

Gauge of Your Strings:
Using a thicker gauge of strings will help you to achieve a thicker tone, it will also give you more power and volume. Once you start playing with thicker strings you may feel you may need to adapt your technique a little to get the best out of your sound. All of this will happen over time as long as you are aware of  this. Playing your strings with a heavier attack will help to improve your tone as well. When using thinner strings, a heavier attack will make your strings go out of tune. This is very noticeable on your low E. Once you have gone up a few gauges you will no longer experience this problem!

Use Heavier Picks:
Plectrums, like strings, come in all kind of gauges. Most guitar players will start out with thin, light picks. Once your technique gets better you may want to go up in gauge with your picks. Using heavier picks will give you naturally more attack on your strings, more attack means more sound and more volume. Try various picks to see what you like. You may even want to use different picks for different playing situations.

  Raising the Actions of Your Strings:
Playing with a higher action will also improve your guitar tone: The further the strings have to travel to the fret board the more sound they will produce. Once you have raised your action you may feel that you can hit those strings harder compared to when your action was lower ( and you were using thinner gauge strings)

When you check the tree points I mentioned above you will see that they are all related to each other: Thicker strings beg for heavier attack, thicker picks will help you achiever heavier attack and higher string action will allow you to play harder without the strings fretting out and causing too much fret buzz.

If you are not happy with your tone, try any of the above and adapt your playing to the new situation. You will love it after a while.

Happy playing time and hope to catch you all soon again for more guitar, and tone inspiration.
Eddie